Okay, so picture this: I'm frantically trying to finish a report at 11:58 PM, deadline midnight. Documents everywhere, caffeine withdrawal kicking in... And then I realize the WORST thing: I forgot a cover page. A cover page! Like, seriously? Talk about adding insult to injury. That's when I thought, "There HAS to be an easier way." And that's what brings us to talking about sprucing up your Word documents with a nice, clean cover page. Because, let’s face it, first impressions matter, even in the digital world.
So, let's dive into how to "mettre une page de garde" – that's "add a cover page" in fancy French – in Word. Don't worry, it's not as intimidating as it sounds! It's actually super easy, and can instantly elevate your document from looking like a rough draft to a polished masterpiece. (Okay, maybe I'm exaggerating a little, but still... it helps!). You following me so far? Good, let's continue!
Why Bother with a Cover Page, Anyway?
Besides saving me from that near-deadline meltdown (hypothetically speaking, of course 😉), cover pages serve several purposes:
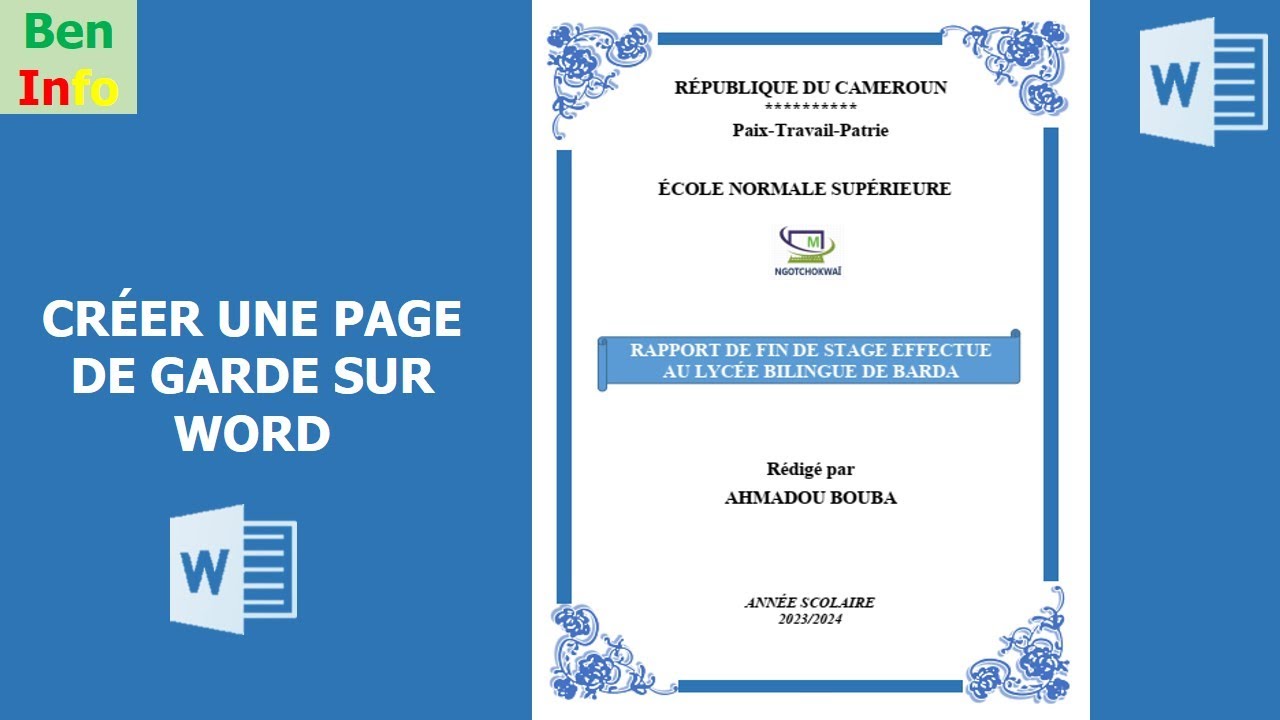
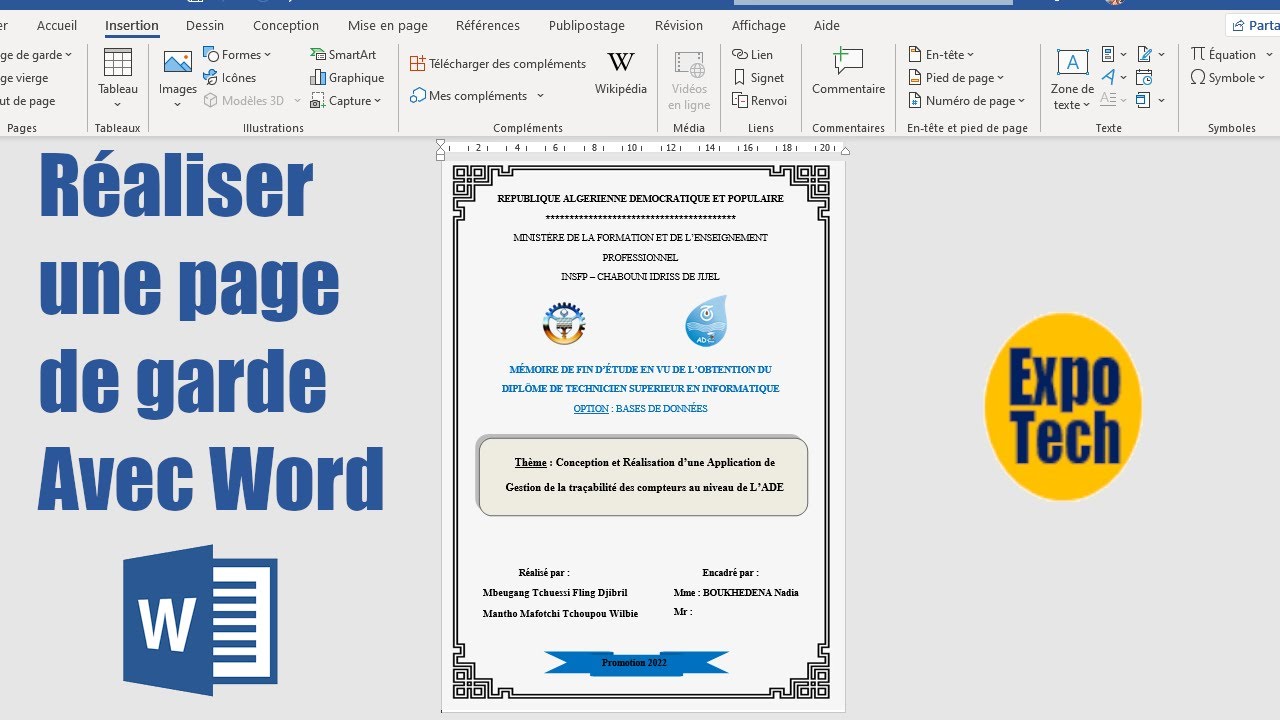
- Professionalism: A well-designed cover page instantly makes your document look more professional. It shows you put thought and effort into the presentation. Think of it as the document's business card.
- Organization: Cover pages clearly identify the document's title, author, date, and other relevant information. No more guessing games!
- Information: You can include essential details like the company logo, contact information, or even a brief abstract of the document.
- Aesthetics: Let's be honest, a well-designed cover page simply looks good! It can add a touch of visual appeal to what might otherwise be a dry and boring document.
Adding a Cover Page in Word: A Step-by-Step Guide
Alright, let's get down to the nitty-gritty. Here's how to add a cover page in Microsoft Word:

- Open your document. Duh.
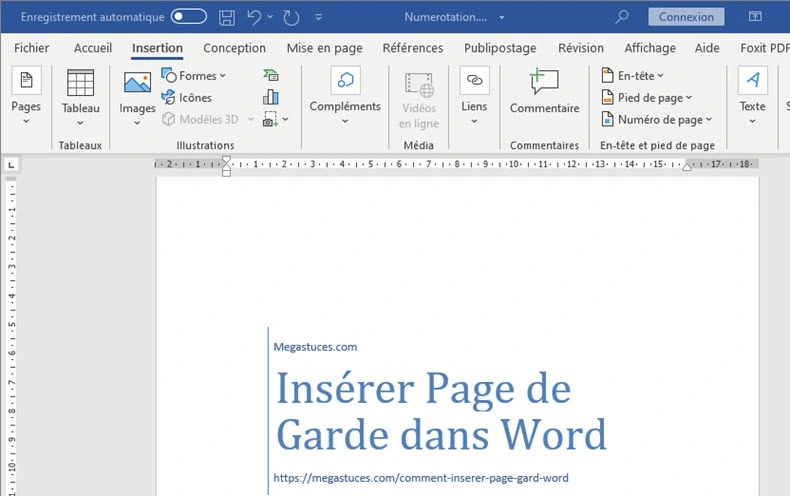
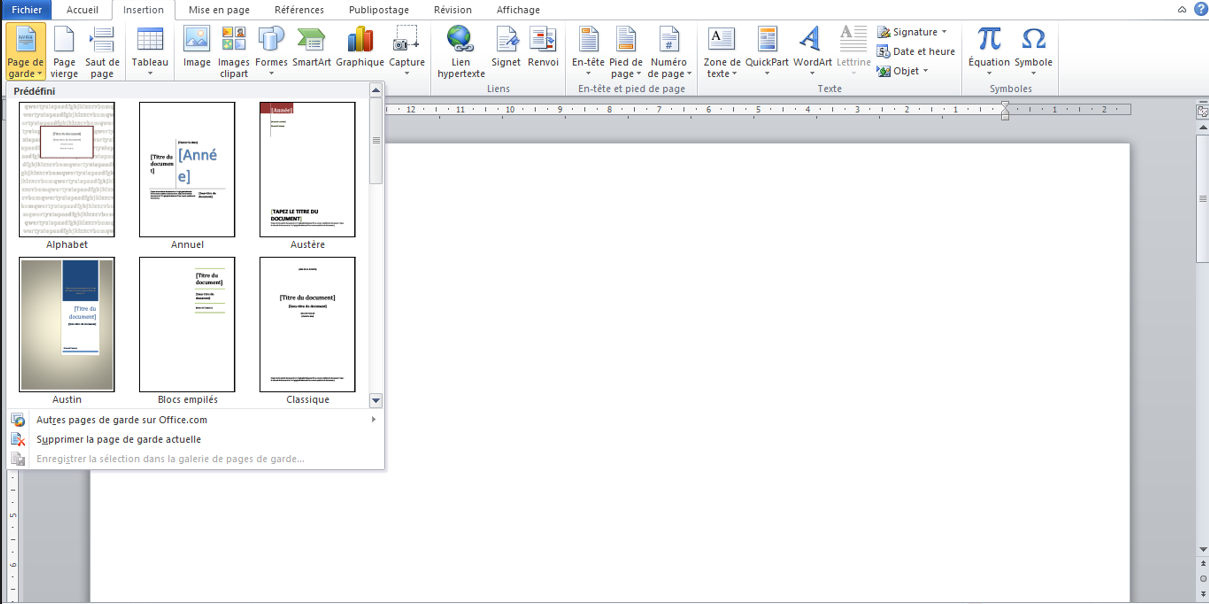
- Go to the "Insert" tab. You'll see it at the top of the Word window.
- Click on "Cover Page". It's usually located on the left side of the ribbon.
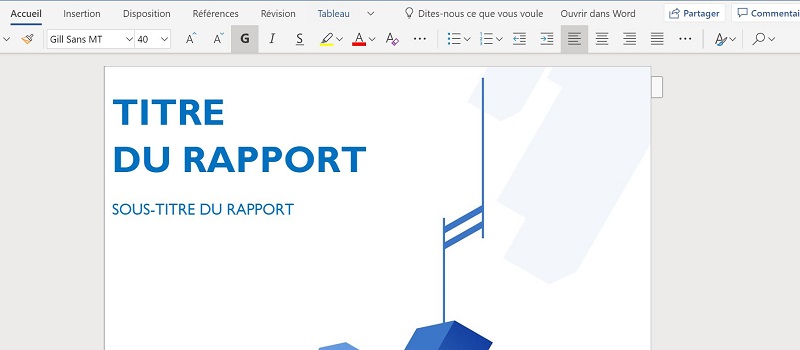
- A dropdown menu will appear with a selection of pre-designed cover page templates. Browse through them and choose one that you like. (Or, if you're feeling creative, you can design your own from scratch, but that's a story for another day!)
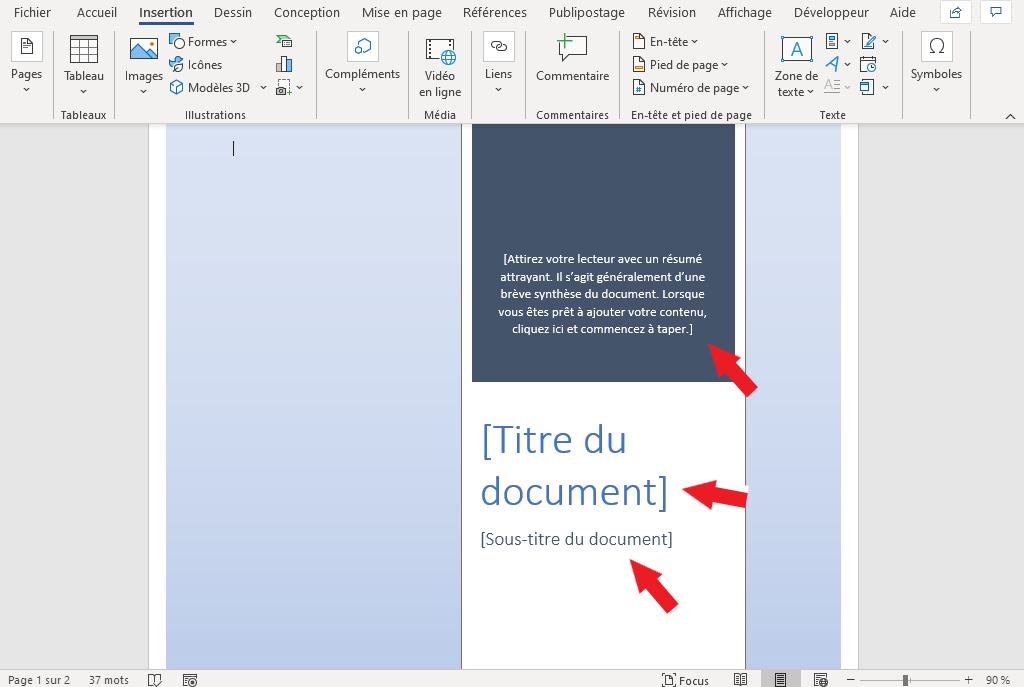
- Once you select a template, it will be inserted at the beginning of your document.
- Customize the text within the cover page template. Replace the placeholder text with your own information, such as the title, author, date, and any other relevant details.
Pro tip: Don't be afraid to experiment with different templates and customize them to fit your specific needs and branding. You can change the colors, fonts, and images to create a cover page that truly reflects your personal style or company identity. Trust me, it's worth the extra few minutes!
Beyond the Basics: Customizing Your Cover Page
Okay, so you've added a cover page using a template. Great! But what if you want to take it to the next level? You can:
- Add your company logo.
- Change the colors to match your brand.
- Use custom fonts.
- Insert relevant images.
- Add a brief abstract or summary of the document.
The possibilities are endless! Just remember to keep it clean and professional. You don't want your cover page to be more distracting than helpful. And just a final, friendly reminder to always save your work! You don't want to lose all that cover page creativity.
So, there you have it! Adding a cover page in Word is a simple yet effective way to enhance the professionalism and organization of your documents. Now go forth and create some stunning cover pages! And hopefully, avoid any last-minute deadline panics…like the one I didn't have 😉.