Okay, so picture this: me, last week, wrestling with a fitted sheet that absolutely refused to stay on my mattress. It was a battle of wills, people, and the sheet was winning. Every toss and turn, thwack, the corner would pop off. It was like sleeping on a giant, wrinkled, slightly-too-small sailboat. Honestly, I was considering just embracing the bare mattress life (don't judge!). But then it hit me – I could just make a mattress cover! (insert dramatic music here). No more elastic-band-induced-nightmares! So, let’s dive into the glorious world of sewing a rectangular mattress cover.
Why bother making a mattress cover yourself?
Good question! Why not just buy one? Well, let's consider the options:
- Custom sizes: Maybe you have a weirdly shaped mattress. You know, one that's not quite a twin, not quite a full… the struggle is real. Making your own means a perfect fit!
- Fabric choice: You control the destiny of your mattress! Want organic cotton? Go for it! Prefer a luxurious velvet? (Okay, maybe not, but you could).
- Saving money: Let's be honest, quality mattress covers can be pricey. DIY is often cheaper.
- Bragging rights: Let's be real, you get to tell everyone you MADE A MATTRESS COVER. Instant crafting cred!
What you’ll need (the boring but necessary part)
Alright, gather your supplies. This isn't brain surgery, but having everything ready will make the process smoother.
- Fabric: Measure your mattress carefully (length, width, and height). Add seam allowances! I usually add at least 1.5 cm (or ½ inch) all around. Remember, measure twice, cut once (and I say this as someone who frequently ignores this advice).
- Sewing machine: Obviously. Unless you're going full-on historical and hand-stitching the whole thing. More power to you if you are!
- Thread: Choose a thread that matches your fabric.
- Scissors or rotary cutter: For cutting the fabric. Rotary cutters are amazing, by the way. Highly recommend!
- Pins: For holding the fabric together while you sew. A lot of pins. Seriously, you can never have too many.
- Measuring tape: No eyeballing allowed (unless you're a sewing wizard, in which case, teach me your ways!).
- Iron: For pressing seams. Pressing is your friend! It makes everything look much neater.
The Simple Sewing Steps
Okay, let's get sewing! I'm going to break down the process into super-easy steps. Promise.
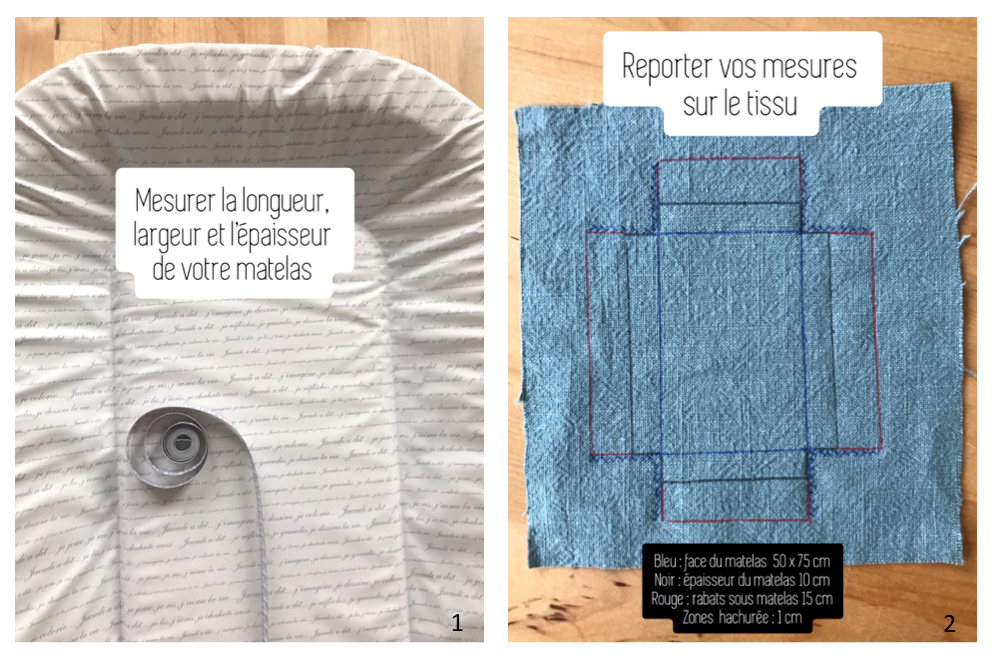
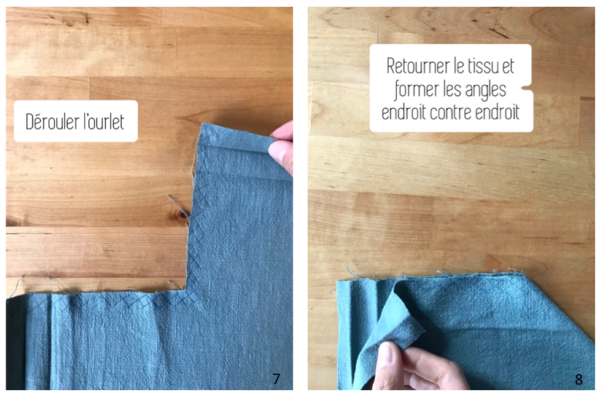
- Cut your fabric: You'll need one large rectangle for the top of the mattress and four rectangles for the sides. Remember to account for seam allowances!
- Sew the sides together: Sew the four side pieces together to form one long strip. This will be the "skirt" of your mattress cover.
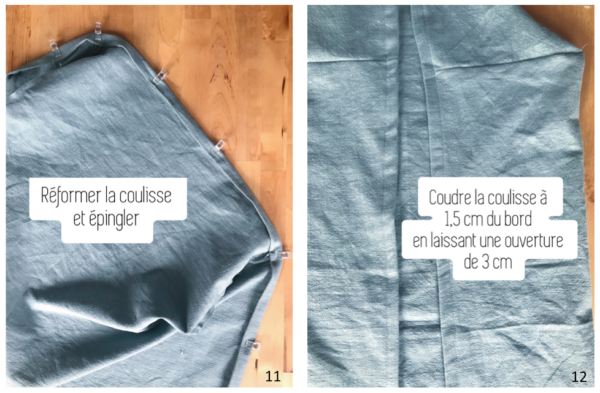
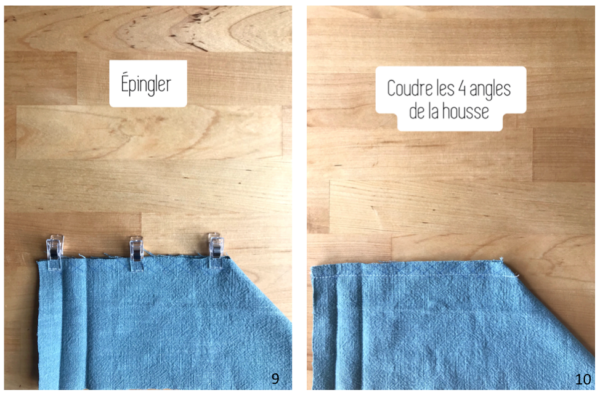
- Attach the skirt to the top: Pin the skirt to the large rectangle, right sides together. Sew all the way around. This is where pins are your best friend! Go slow and steady.
- Finish the edges: Use a zig-zag stitch or serger to finish the raw edges of the seams. This prevents fraying.
- Try it on!: Carefully slip the cover onto your mattress. Check the fit. Celebrate your awesome accomplishment!
Optional upgrades (because why not?)
Want to level up your mattress cover? Here are some ideas:
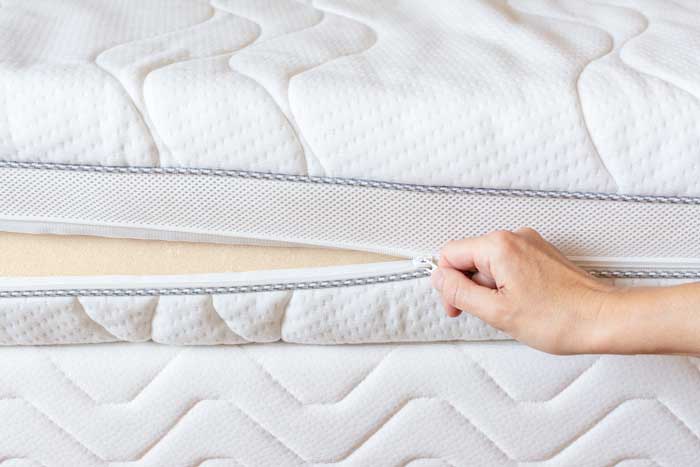
- Zipper closure: Instead of sewing the skirt all the way around, leave one side open and insert a zipper. This makes it easier to remove the cover for washing.
- Waterproof lining: Add a layer of waterproof fabric to protect your mattress from spills. Especially useful if you have kids (or are just prone to accidents… no judgment!).
- Padding: Add a layer of batting for extra cushioning. Because who doesn’t love a super comfy mattress?
So, there you have it! A simple guide to sewing your own rectangular mattress cover. It's easier than it looks, and the results are totally worth it. Go forth and conquer your mattress woes! And please, send me pictures of your creations! I love seeing what you guys make!