Okay, confession time. Last Christmas, I swore I was going to be that person. You know, the one with the perfectly coordinated decorations, the handmade ornaments… the whole shebang. I even bought special paper to make snowflakes! Fast forward to Christmas Eve and… well, let’s just say my snowflakes looked less like delicate winter art and more like a flock of mutant spiders had attacked my window. 😅 The good news? I learned my lesson, and I’m here to share a far simpler, and infinitely less arachnid-resembling, method for drawing a snowflake.
So, you want to draw a snowflake that doesn't look like it crawled out of a horror movie? Let's dive in! It’s easier than you think, I promise. 😉
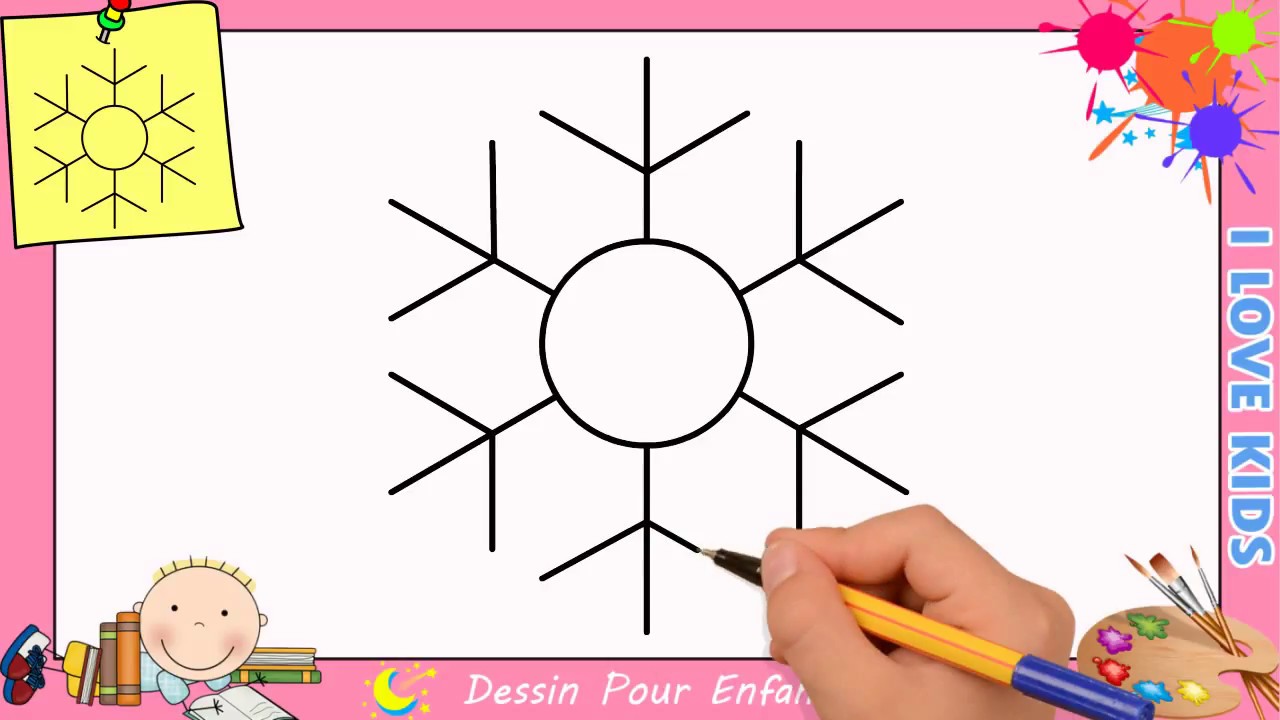
The Basic Foundation: The Six Lines
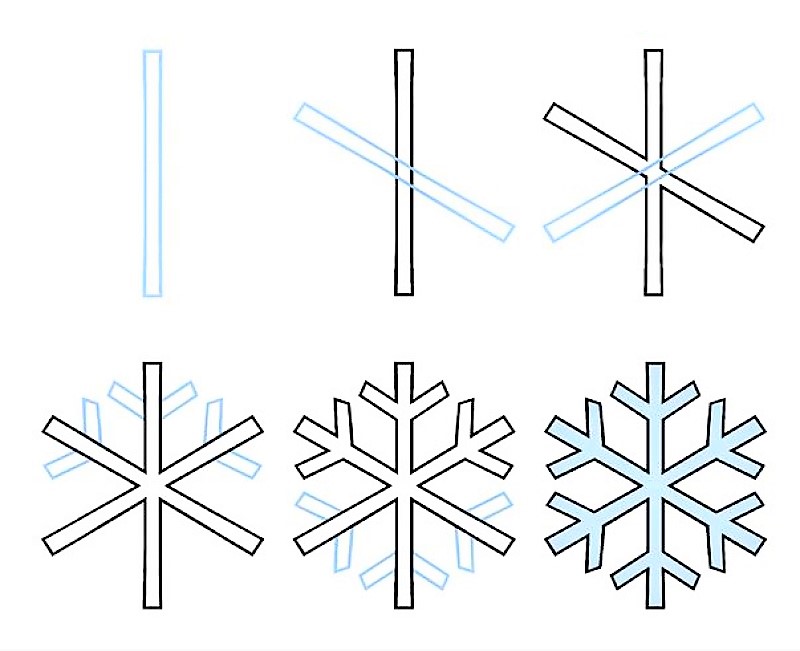
Snowflakes are famous for their six-sided symmetry. That's our starting point! Think of it like building a house – you need a strong foundation.
- First, draw a simple line vertically. Not perfectly straight is fine, even better! Snowflakes are all unique!
- Next, draw another line through the middle of the first, but tilted. Imagine a plus sign (+) that's been rotated.
- Finally, add one more line through the center, again tilted, filling in the space between the first two. Think of it as dividing each section of the 'plus' in half.
Ta-da! You now have the skeletal structure of your snowflake. (Don't worry if it looks a bit wonky. Mine usually do too!)
Adding the Branches: Time to Get Creative!
This is where the fun begins! We're going to add little branches coming off each of those six lines. And the best part? There are no rules! Well, almost none. Aim for some kind of balance and symmetry, but don't stress if they're not identical. Remember, real snowflakes are imperfectly perfect.
- Think about simple shapes: small lines, V's, dots, tiny circles.
- Add these shapes along each of the six main lines. Try to mirror the shapes on opposite sides of the center for that symmetrical look.
- Don't overcrowd it! Leave some white space. White space is your friend! It makes the snowflake look delicate and less…cluttered.
Pro Tip: Vary the size and length of the branches. Some can be short and stubby, others long and elegant. Experiment! This is your snowflake, after all.
Refining and Embellishing: The Finishing Touches
Once you've got the basic branches in place, you can add even more detail. Think of it as the jewellery for your snowflake. ✨

- Add tiny dots at the ends of the branches.
- Draw small triangles or diamonds along the main lines.
- Use different line weights – make some lines thicker, others thinner – to add depth and visual interest.
Consider using a pencil first, so you can easily erase and adjust as you go. Once you're happy with your masterpiece, you can trace over it with a pen or marker.
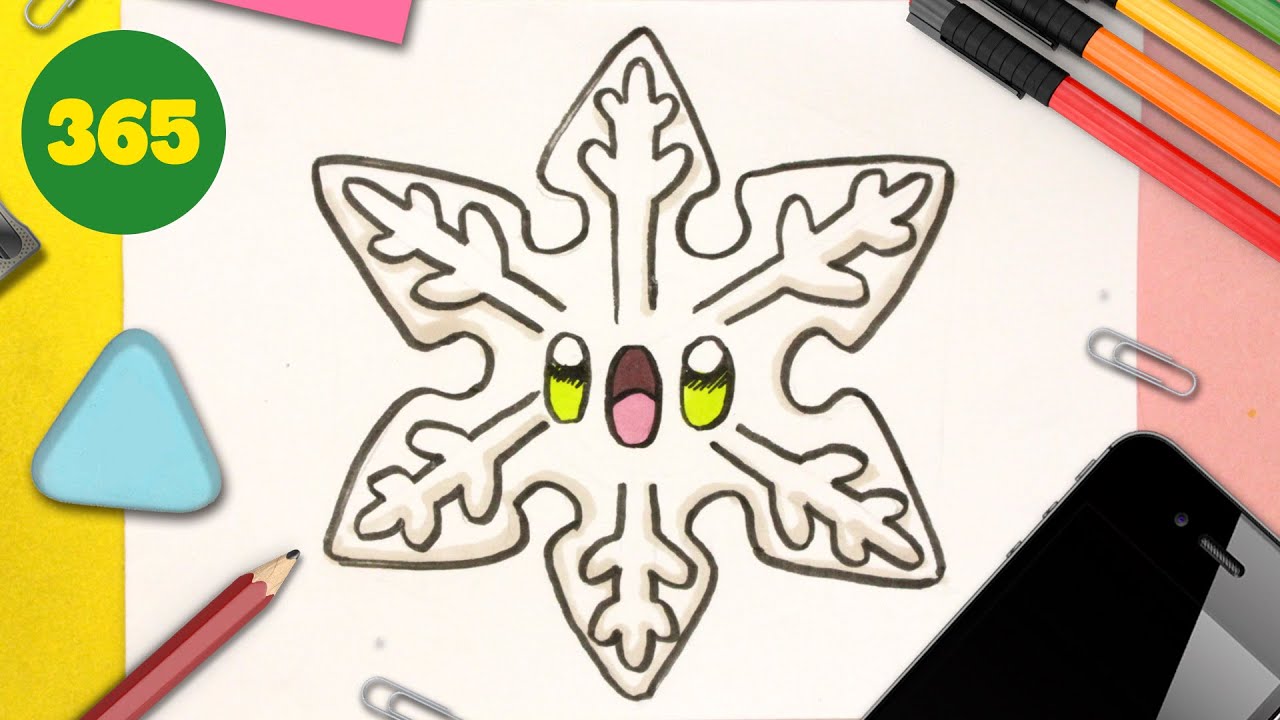
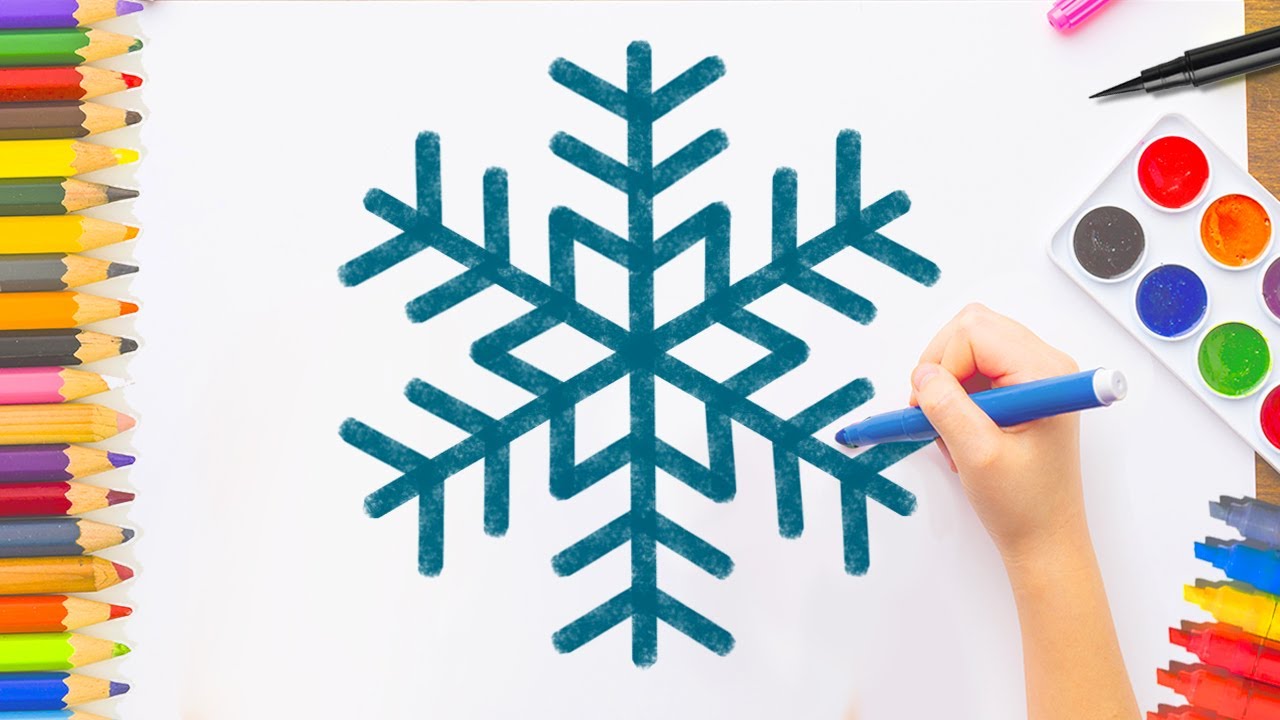
Voilà! You've Created a Snowflake!
See? I told you it was easy! Now you can create a whole blizzard of beautiful, unique snowflakes. Decorate your windows, your cards, your everything! And the best part? No mutant spider sightings guaranteed. 😉
Happy drawing, and happy winter! ❄️